Last night I drilled 2 holes in my Victoria 18. Not to worry, it was all on deck or high in the cockpit. A small hole for light duty DC wire to the stern navigation light and a larger 30mm hole for a power port for my electric trolling motor.
Both holes were sealed via plumbers tape on the hole and along the length of the screws mounting the new equipment. I’m not super concerned with it as what tiny few drops which may leak will just drain to the bilge as rainwater does from the rest of the boat.
Right now I’m plugging straight into the battery, but I’m waiting on one more part (a container for the panel and all the electrical wiring) to install a switchboard so lights can easily be turned off an on.
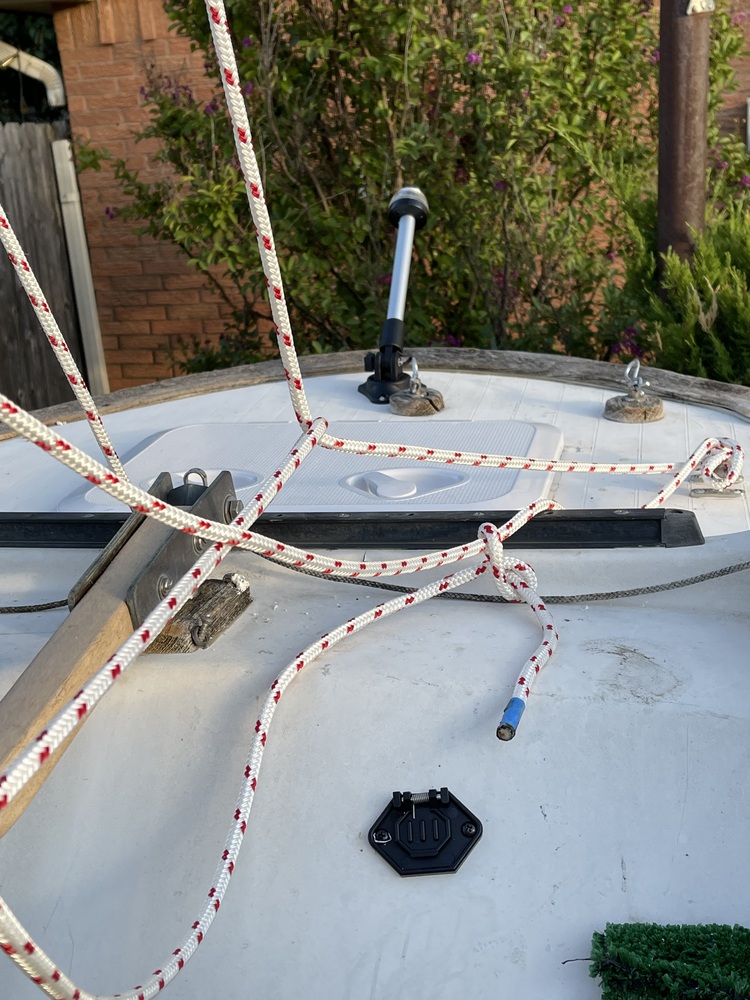
Placement of the power port for the Trolling Motor. The askew angle is intentional to help keep rain from pooling while trailered.
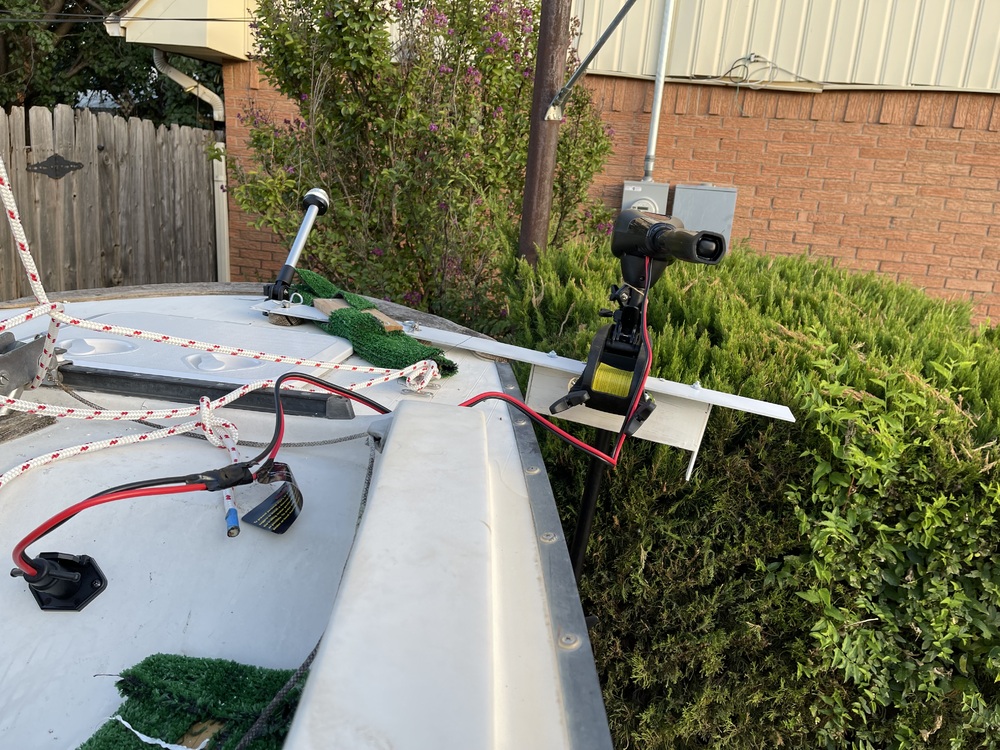
The trolling motor plugged in and powered up.
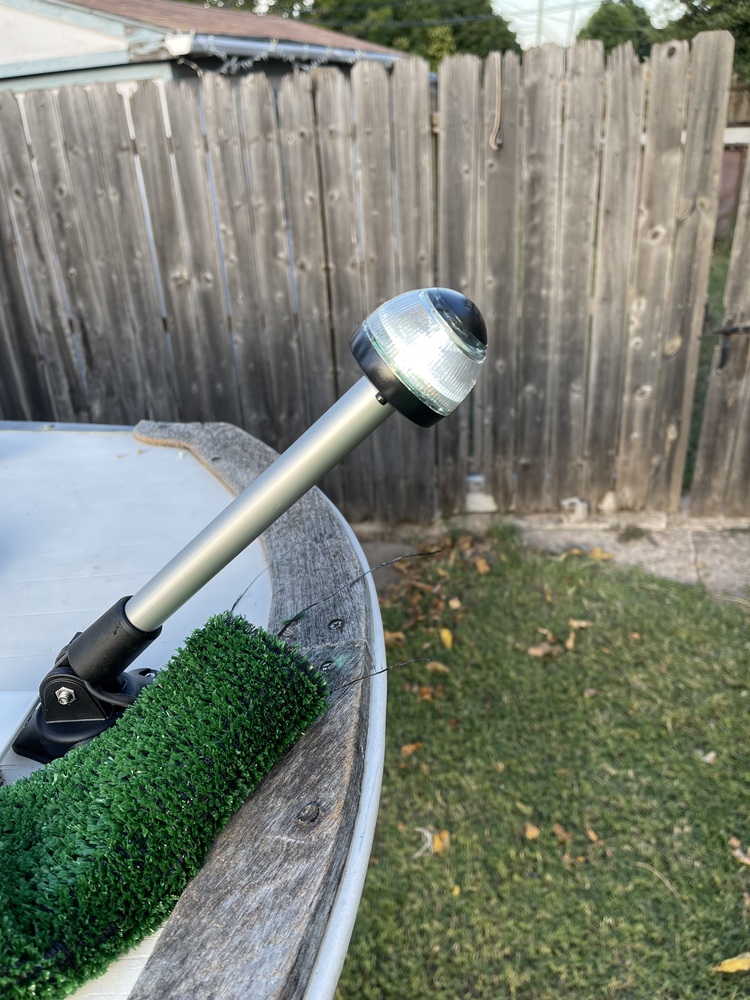
Power to the stern light works just fine
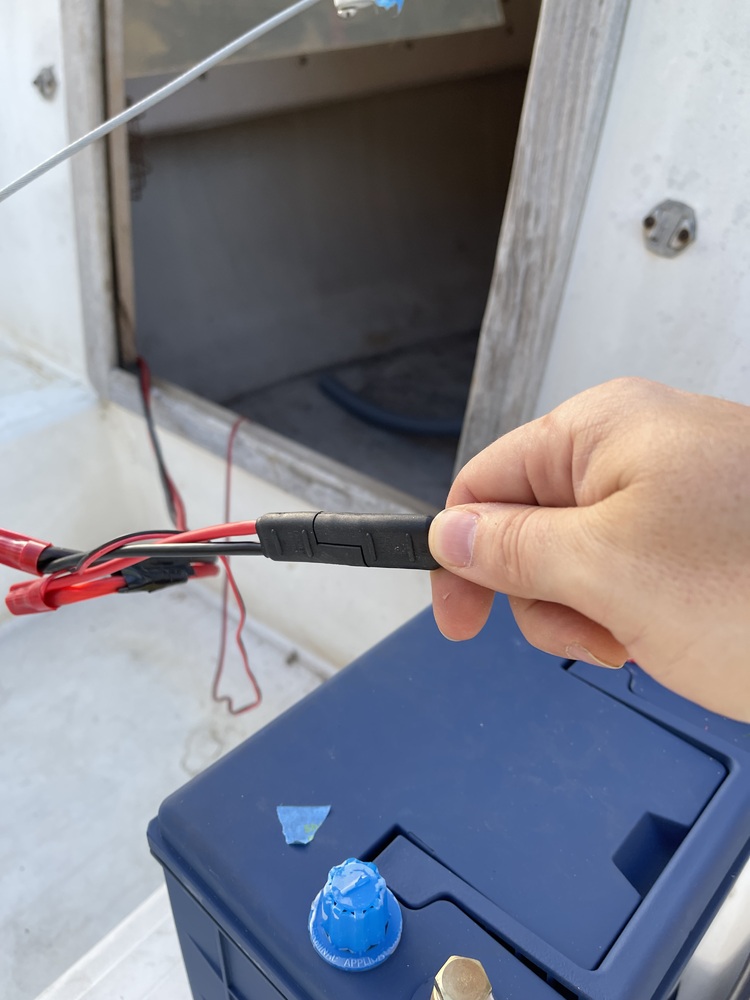
Battery Disconnect
I won’t keep the battery in the boat while at rest (nor the trolling motor), so I wired up a quick-connect to it. Right now I have it temporarily wired via wire-nuts to the motor and to the stern light. That’ll change this weekend.

With the exception of the temporary wire-nuts all wires are (and will be) soldered either to other wires or panel clamps for the switch panel.
Everything Aft A-Working
Sorry, it was too hot to make a video while I drilled and threaded the power wires, but here’s a completed video showing the temporary power source wiring and the battery mount inside the cabin.
Note, also, my experimental port engine mount. I can still revert back and use the stern mount if it doesn’t work out.
Music Credit: me, made with Sony’s Acid back in the early 2000’s