Aha the last piece of the puzzle (until I get my memory upgrade later). This article covers an OWC 2.5″ Tray Installation for SSD on MacPro 2009.
Here’s the OWC 2.5″ Drive Tray installation… took longer to pull out of the box and take pictures than actually install (and much longer to write this blog post!). As I noted before I connected my SSD and installed the drive on the Optical Bay SATAs for OS Installation via Time Machine backup of my 13″ MacBook Pro (2010).
It really WAS this simple. It’s a lovely box!
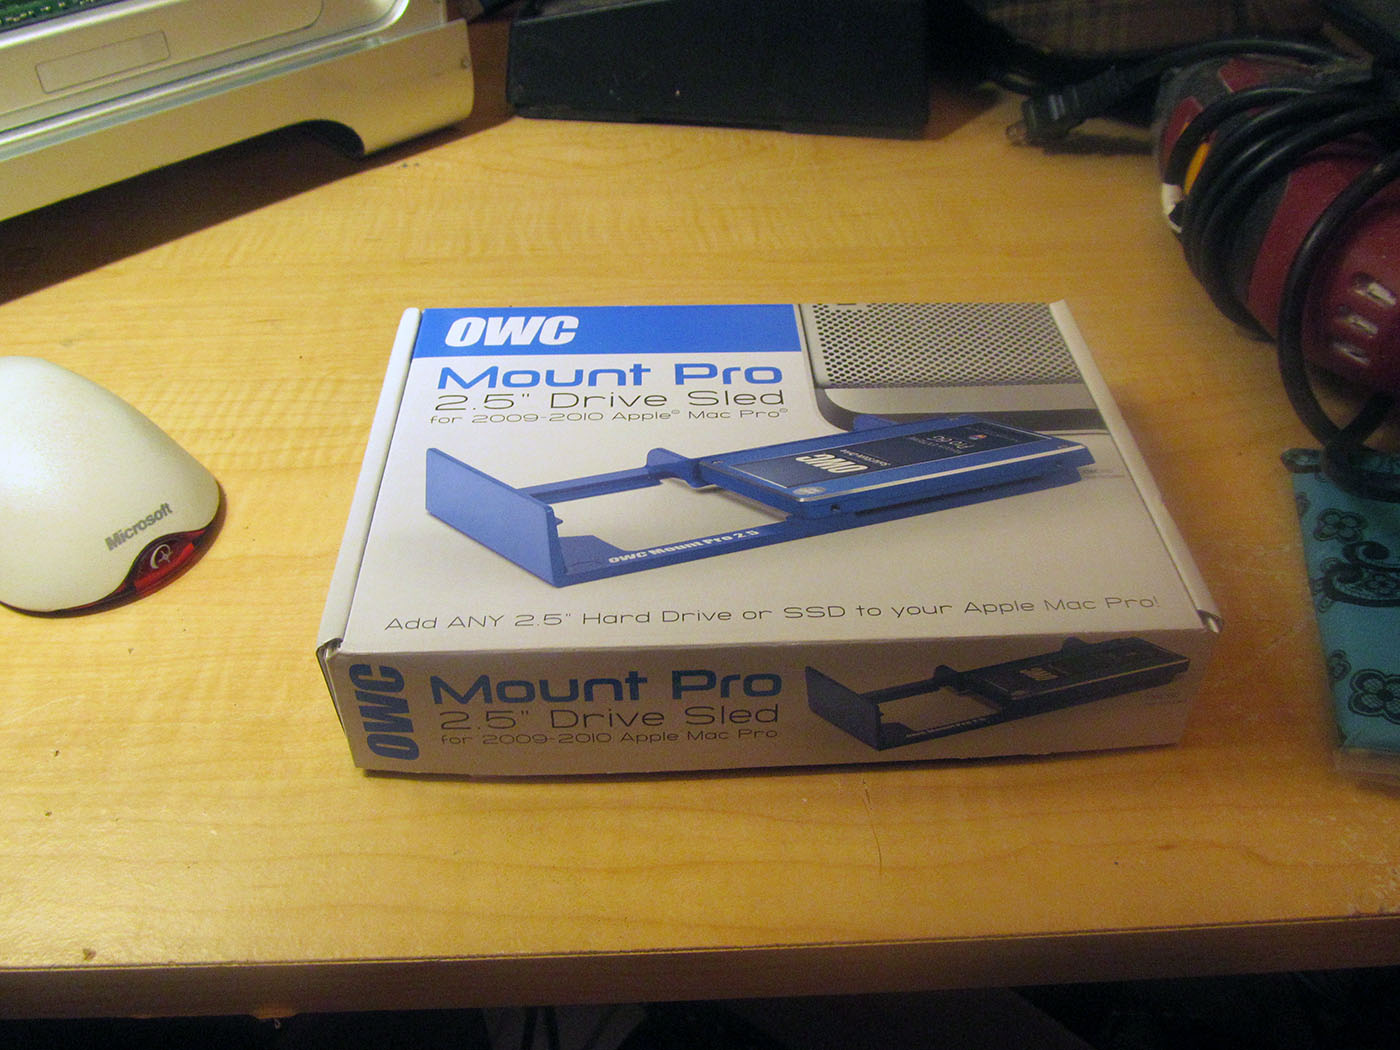
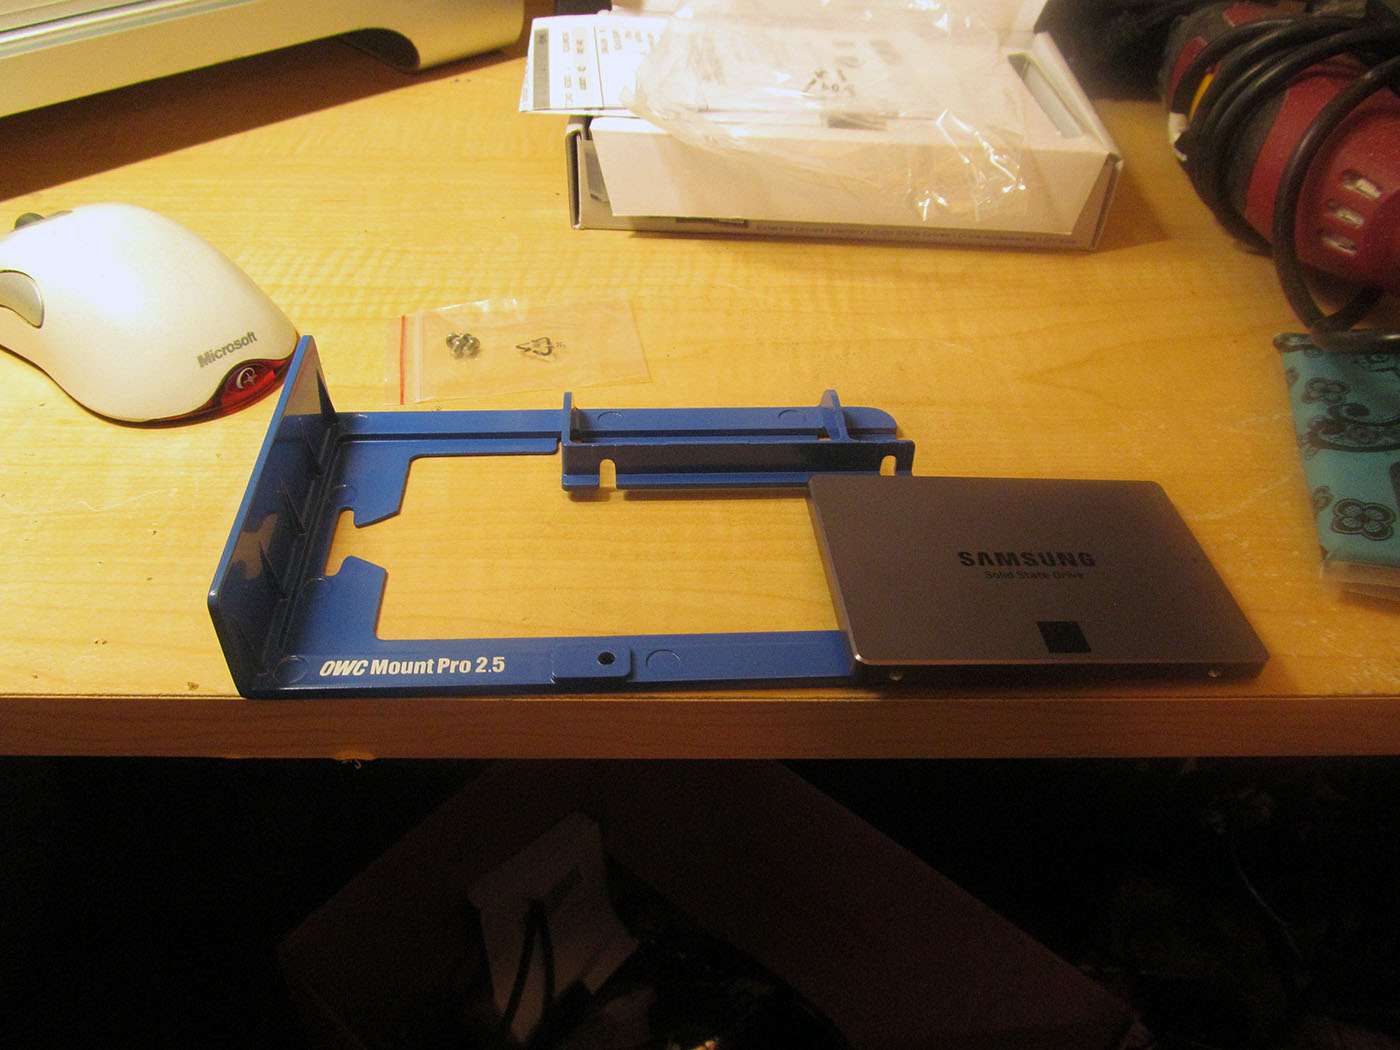
Open the box, pull out the tray. I put the SSD next to to make sure the hole align (note that it came with screws in this kit!)
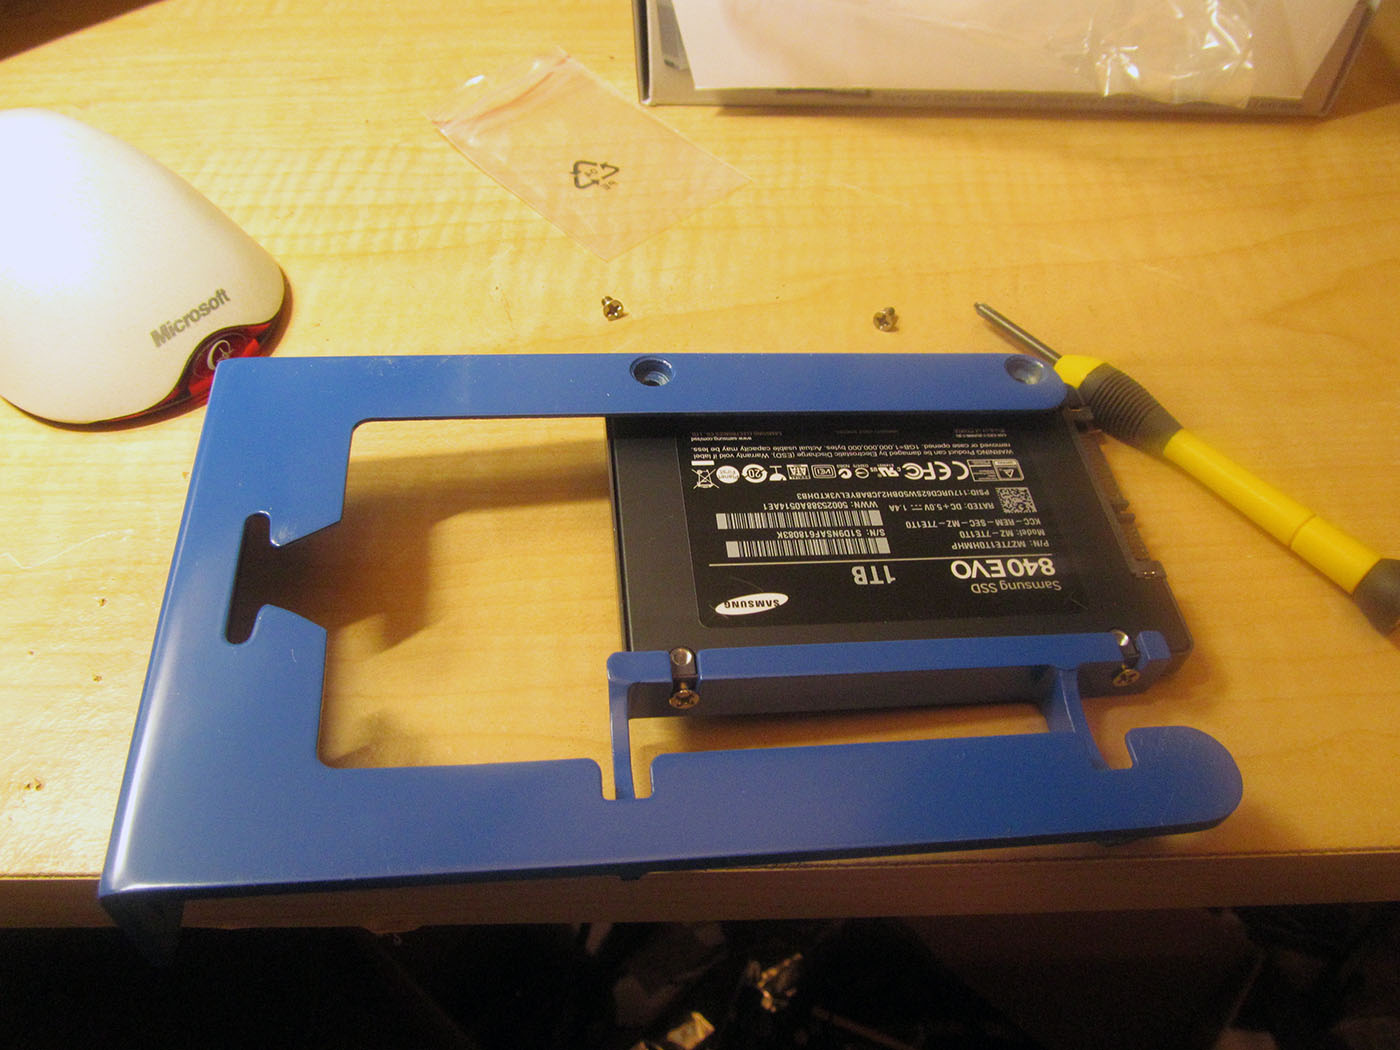
 Verify that when it slides in the SATA port is on the correct side and alignment (you don’t have to stand on your head unless you want to). Screw in the 4 screws so that it’s nice and snug.
Slide the tray into an open bay until you feel the drive push in and it’s flush.[
]3 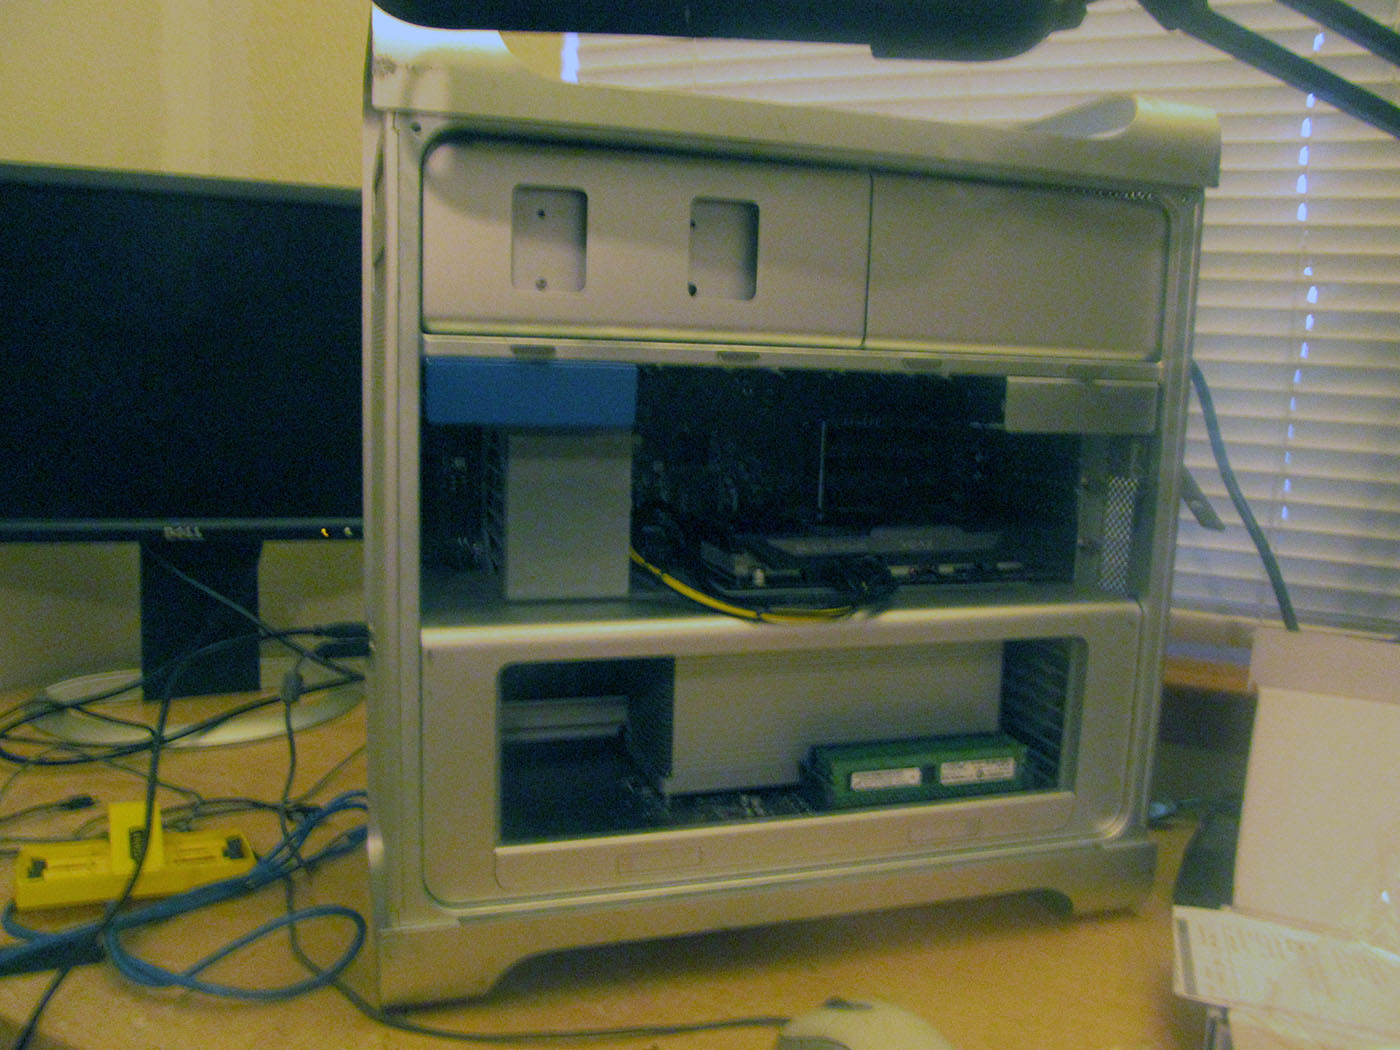 And boot!
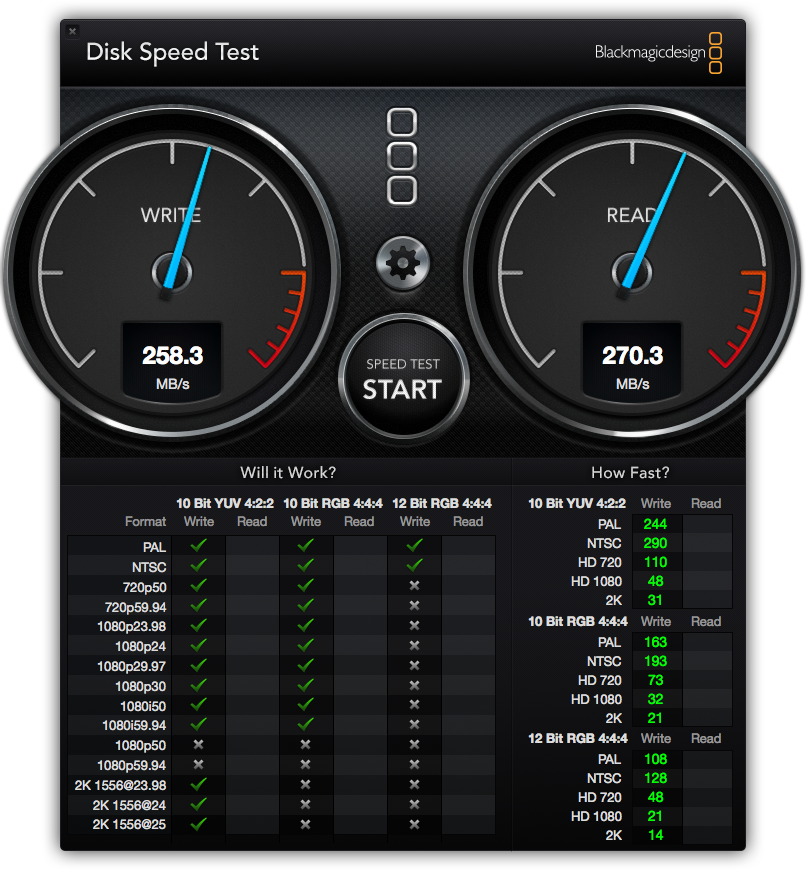
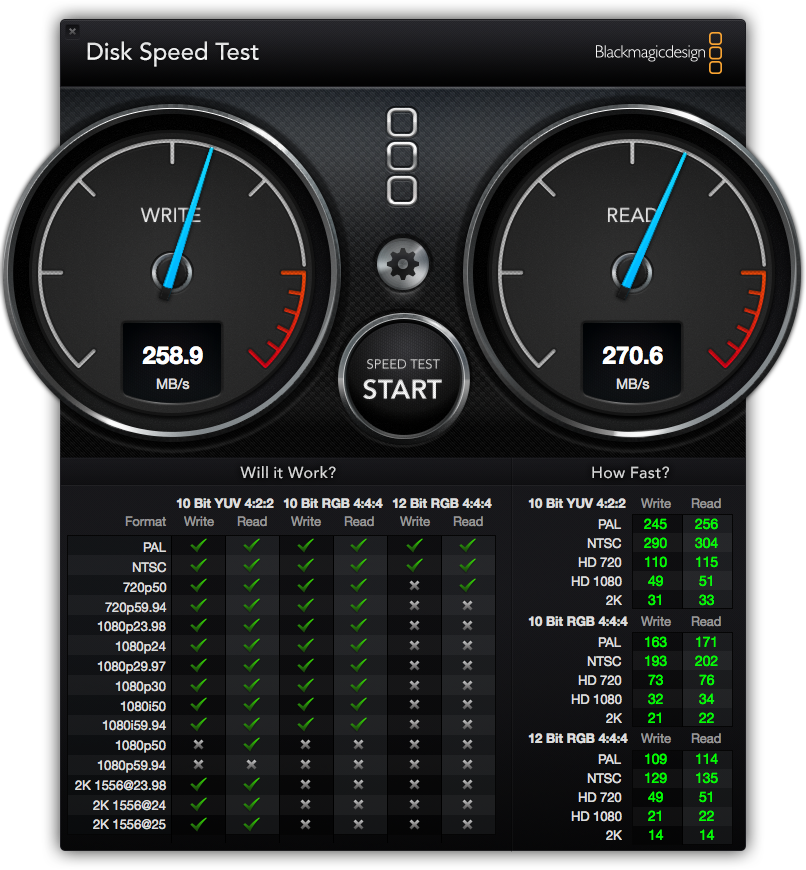
The speed differences on the optical bay SATA and motherboard are minimal, standard SATA2 speeds. If I feel adventurous I may get a SATA3 PCI Express card for it, but these speeds are more than enough for my uses.
This tray is definitely worth the money — 2 thumbs up!
So far OWC has great kudos in my book for supporting non-supported Macs such as my new (to me!) 2009 MacPro.